Physical address: 6296 Donnelly Plaza Ratkeville, Bahamas.
Your Trusted Partner in Property Success
We specialize in simplifying the property-buying journey with expert guidance, local market insights, and unparalleled dedication.
Our Specialized Services
Residential Buyers Advocacy
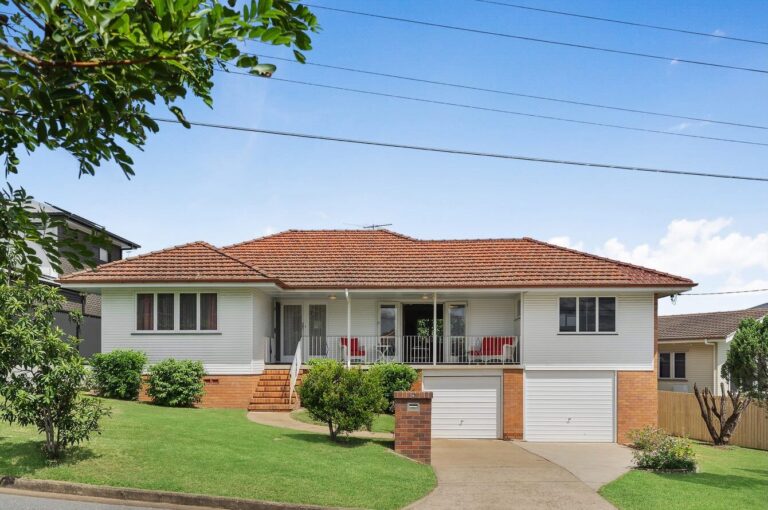
Finding the perfect home can be challenging, but with our local expertise, we make it effortless. From family homes in serene neighborhoods to stylish apartments in the heart of the city, we help you find a property that meets your lifestyle and budget.
Commercial Buyers Agency
Secure the ideal commercial property for your business or investment portfolio with our dedicated commercial buyers agents. Our team understands the complexities of commercial real estate and works to ensure your success in a competitive market.
Buyers Advocacy in Sydney
Navigate Sydney's competitive property market with our experienced agents. From luxurious urban properties to suburban family homes, we ensure you find your perfect match.
Brisbane Buyers Advocacy
With an eye on Brisbane's expanding real estate market, our team helps you capitalize on this growing region. Discover your ideal property in Queensland’s capital.
About Us
Welcome to Civil Appraisal, your trusted partner in navigating Australia’s dynamic property markets. Our mission is to provide unparalleled buyers advocacy services that simplify the property acquisition process while ensuring our clients make informed, confident decisions.
Corner sofas are a popular choice for modern living spaces, offering ample seating and a cosy...
“I’ve worked with several buyers agents before, but the team at Civil Appraisal stands out. They took the time to understand my investment goals and found properties that fit my criteria perfectly. Their insights into the Adelaide market were invaluable!”
Michelle Harmington
Why Choose Us?
1. Client-Centric Approach
Your needs and goals are our top priority. We listen, strategize, and deliver personalized solutions that align with your vision.
2. Unmatched Expertise
With years of experience and deep insights into local and national property markets, we bring a wealth of knowledge to every transaction.
3. Comprehensive Services
From market research and property inspections to price negotiations and post-purchase advice, we offer end-to-end services tailored to meet your unique requirements.
4. Transparency and Integrity
We believe in building trust through open communication and ethical practices. With us, you’ll always know where you stand.
Our Vision
At Civil Appraisal, we envision a future where every property buyer has access to professional guidance and support. We strive to be the go-to agency for property buyers across Australia, known for our dedication to excellence and client satisfaction.
Years of Experience
0+
Happy Customers
0
Projects Completed
0
We look forward to assisting you with your property goals. Let’s make your real estate dreams a reality!